Showing posts with label craft. Show all posts

Sunday, January 29, 2012

a gift


you're maybe thinking that you've seen this incredible box of magic before? i know i have, right here. i just had no idea that i was the lucky friend to receive it. the leaf pattern is made by - well, leaves, plant dyed. this is a repurposed, reused, thrifted, ecologically sane and skillfully decorated treasure box. i so adore it. thank you, mona!

****

mona is a clever and innovative plant dyer and a maker of many things. you can see some of her work here, here and here.  

Thursday, March 10, 2011

crafting for a friend


Saturday, December 18, 2010

gift making


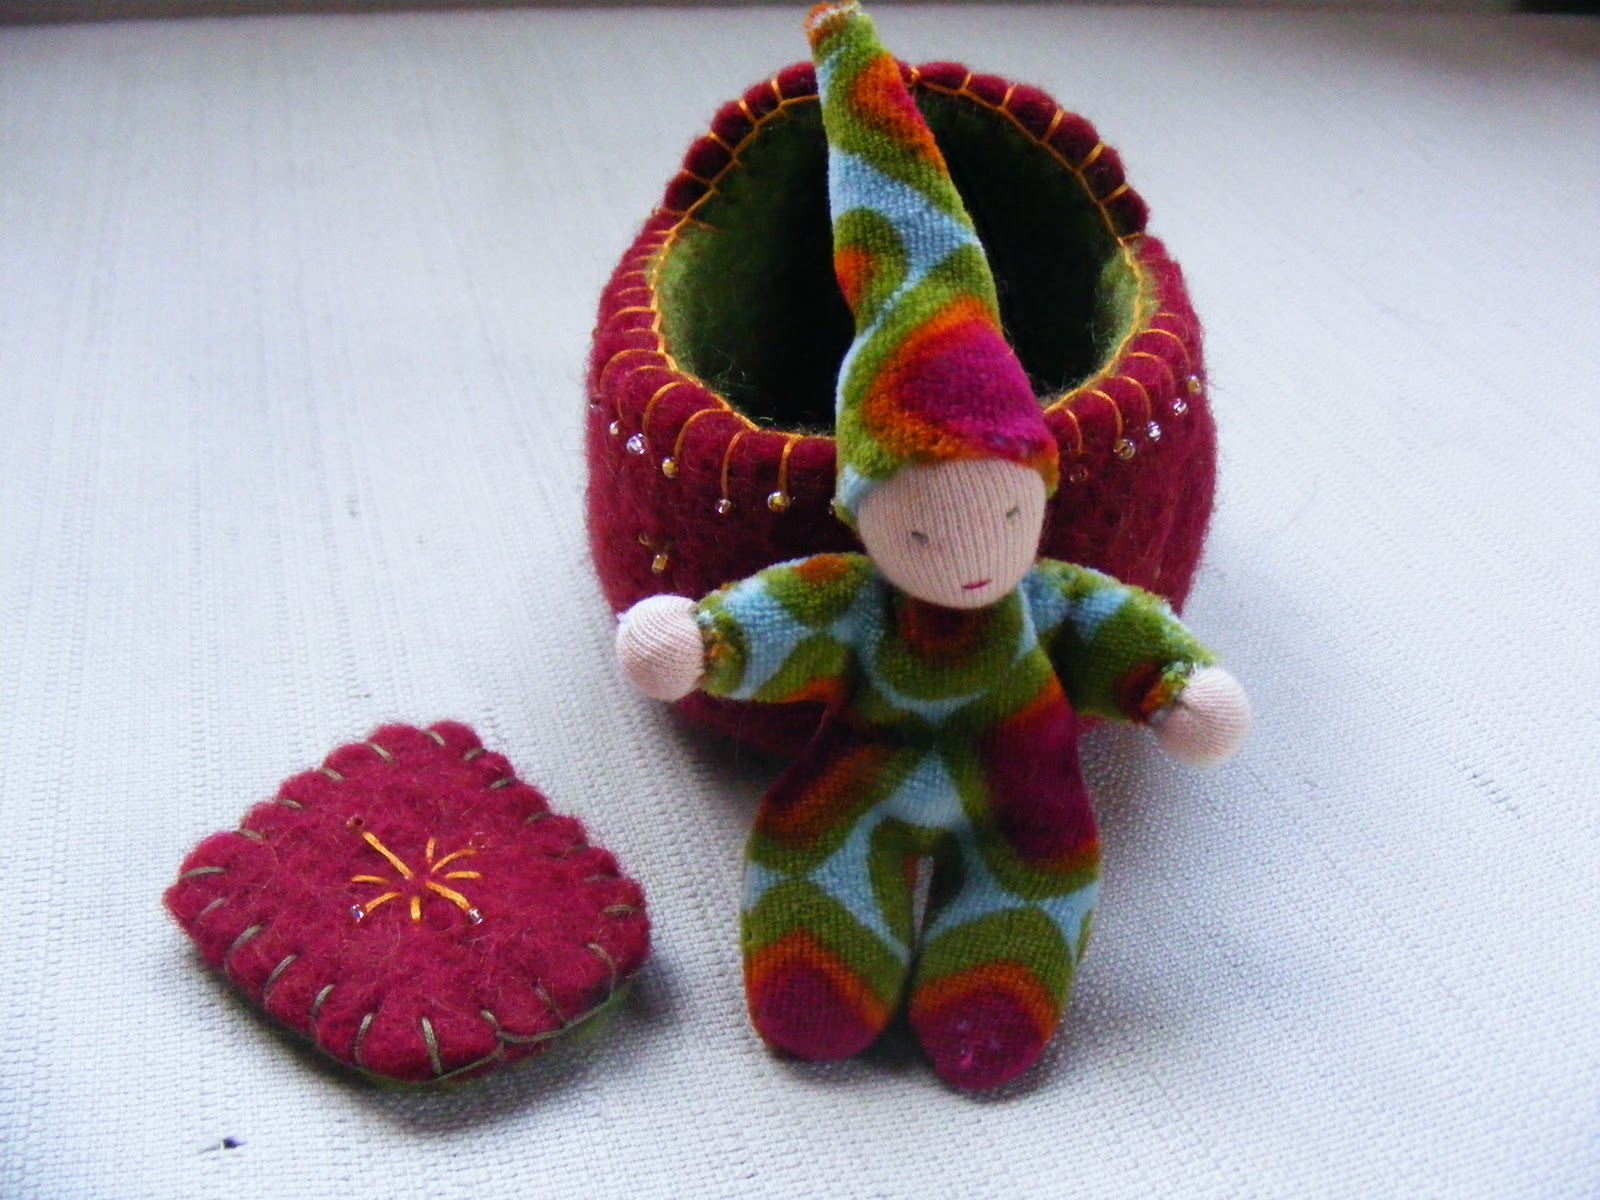
little ones on their way to their new owners.
the little doll with the hat is about 16 cm (6") tall, and the other one is about 33 cm (13").
i haven't made these kind of dolls in several years, and i could definitely use some practice.

Thursday, November 25, 2010

more for the market


a couple of crowns, some magic wands, some more snowflake dolls, one more egg baby. i think i'm done now. the market is on sunday, i won't even get to see it because i'll be on the train for the big city by then. 10 days away from home, and i really do not want to go - my head is filled with ideas for x-mas! i have to make sure i write them down before i go. i love it when my head and body is bursting with creative energy - gotta savour it, some times there's drought.

Thursday, November 18, 2010

that time of the year

when your kids are attending a waldorf school, there's one time of year that gets especially crafty - and busy! i'm talking about the x-mas fair, a long standing waldorf tradition. there's a lot of meetings, planning, and making going on. fifteen years ago, i didn't particularly like the waldorf seasonal dolls and all that goes with it; they were simply too cute. today i'm a born again waldorf toy fan, and i love making them. these days, i'm up to my neck in half finnished projects for the fair. some are getting close to finnished, though:


i've attached ribbons to some of the leaves, so that they can be hung around the neck. 
then there's the eggs we're making, i haven't been able to take any decent photos of mine so far, except the one on top her.  
the most fun part of this is finding new things to make. i'm currently working on some magic wands and seasonal dolls.

hope you're enjoying this time of year too, and don't get tied up in all the x-mas stress out there! i'm doing my best to avoid it :)

Friday, June 18, 2010

milestone

I think I might have reached a milestone in my (theoretical) collage career. I actually finnished something. I dared to cut, and I almost dared to glue. Ok, so I didn't dare to glue, but hey, I stamped something on to the picture!
Small steps, my friends. Small steps.

Saturday, June 12, 2010

hmm....


It started quite controlled, I think. A little collage. Sure, sweetie, why not.


But then things got a little out of hand...


And worse...


Sigh.
We need a studio.

Saturday, May 8, 2010

homemade herbarium


The C.M. Barker covered knitting box made me think of this herbarium I made for my daughter some years ago. This is really the easiest thing to make, but here's a little how-to. It makes a great gift for a little friend as summer is approaching.


You'll need:

  • two heavy pieces of cardboard about A4 size 
  • decorative paper/cut outs or the like
  • glue stick
  • Stanley (or other sharp) knife
  • satin ribbon
  • contact paper


First, cut your cardboard to two A4 sized pieces, or a different size of your choice. You will make two identical pieces; the front and the back.
Make 4 small cuts to each piece (see photo). This will be where the ribbon will go. The ribbon is used to tie the herbarium  together.
Decorate as desired. I chose to glue pretty paper to one side of the cardboard (using glue stick), just wrapping around the corners, and some heavy white paper to the other side, which hid the corner folds.
Cover both cardboards with transparent contact paper, making sure that every fold is neatly done. Cover both sides. This is to protect your herbarium from moist.
Find the four cuts you made with your fingers (easy, as the cutting will leave textured 'wounds' that you will feel through the paper), and cut through the contact paper and decorative paper as well. The reason why I do this in two steps is that it will look much better, with minimal 'cut wounds'.    


Use the tip of your knife to push the ribbon through the cuts. 'Weave' the ribbon in and out of the cuts as shown, thus connecting the two cardboard pieces. Look closely at picture no. two, and you'll see the ribbon that constitutes the back of the herbarium. It's not glued or fastened to the cardboard in any other way, as it's meant to expand with the content of the herbarium - so make sure you cut the ribbons  long enough!
Place 10 - 20 pieces of heavy paper inside (grainy paper texture is better than smooth), fold, tie the ribbon - you're done. The rest is up to the lucky recipient!


Here's a picture of the prototype I made (which of course ended up being my daughters' - 'the pretty ones' are always leaving our home as gifts, like the knitting box. She thinks it's bloody unfair. I agree.)


When you attach your pressed flowers, do not cover the whole page with contact paper (as I was taught at school when I was a child) - use only small pieces of transparent tape or contact paper and fasten here and there. Or else, the whole flower will soon turn brown. 


LinkWithin

Blog Widget by LinkWithin